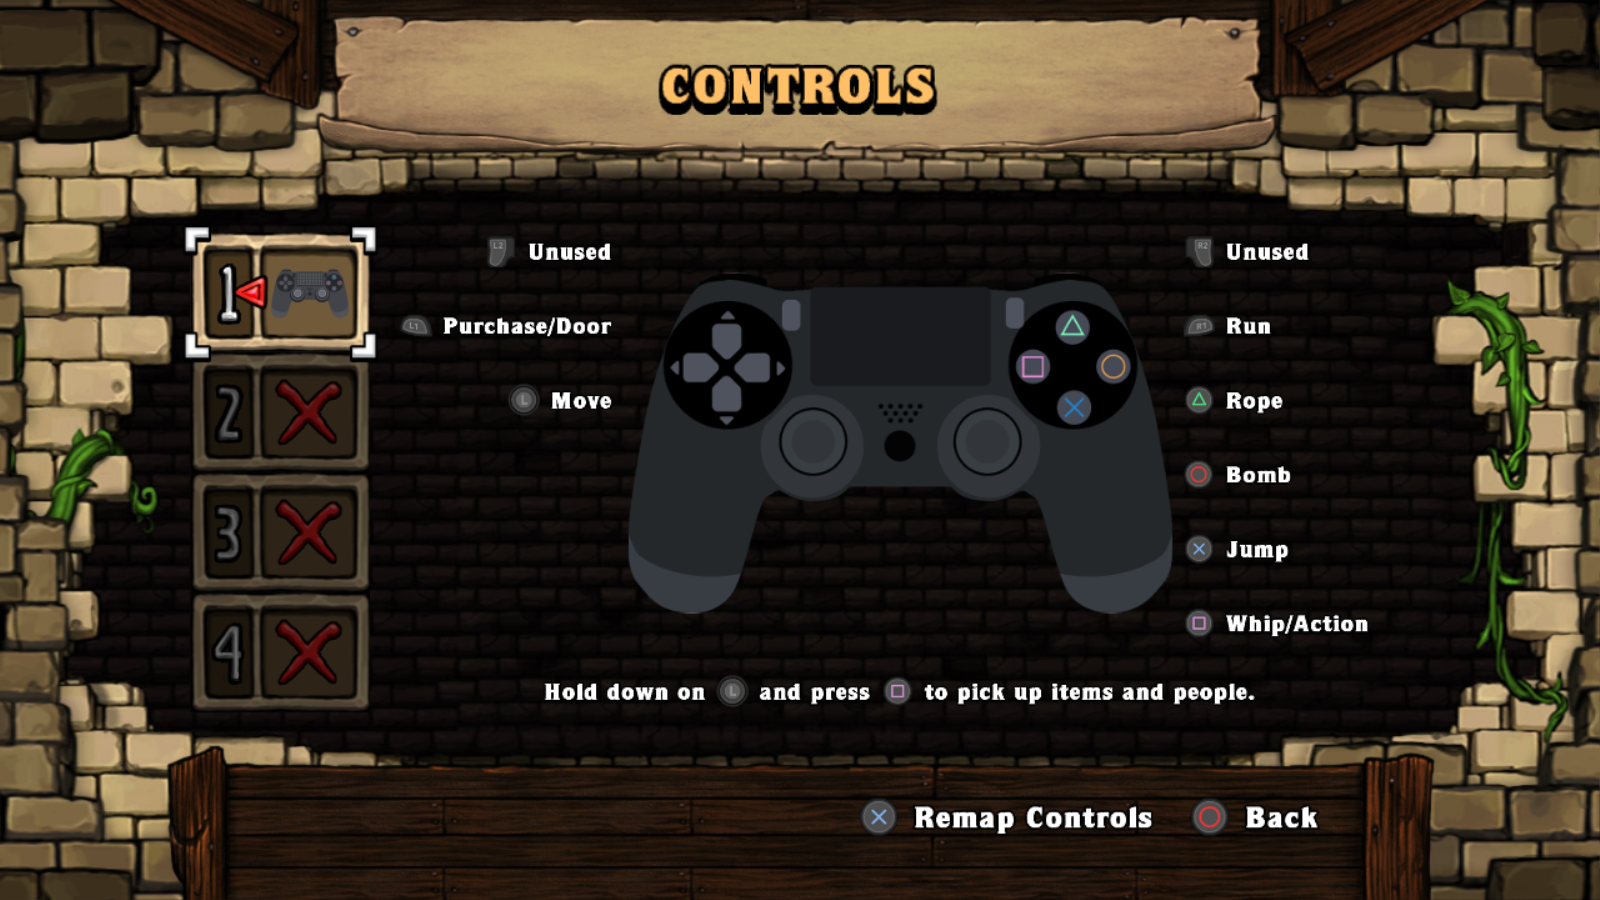
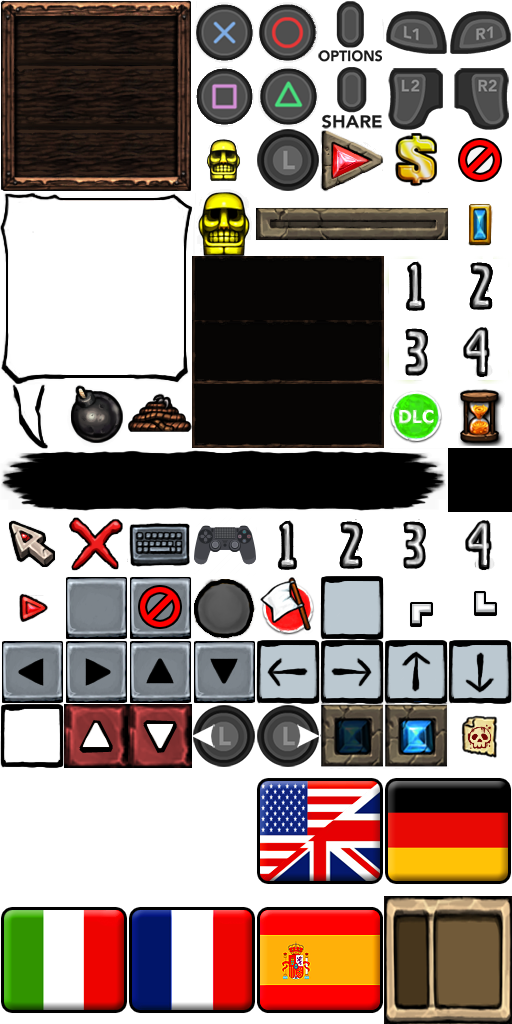
Spelunky HD - PS4 Button Icons
This mod changes the button icons of Spelunky HD to DualShock 4 buttons. Useful for those that
use a PS4 controller with DS4Windows.
If you know where your Spelunky directory is and have no other mods, installation can be done in less than a
minute.
Installation:
If this is your only mod:
Download
(66 MB)
Extract the contents of alltex.zip into your Spelunky's "Data" directory.
This will be
'C:\Program Files (x86)\Steam\steamapps\common\Spelunky\Data' on Steam.
Replace as necessary.
If you have other mods:
(Tutorial panels not included!)
1. Download this and
this (in full resolution).
2. Download Spelunktool
here
(originally hosted on tzarsectus.com)
and extract it into your Spelunky's "Data" directory.
This will be
'C:\Program Files (x86)\Steam\steamapps\common\Spelunky\Data' on Steam.
3. Open up a command prompt with administrator privileges. To do this, simply tap your start button,
type
in "cmd", then right-click the entry for CMD that shows up, and choose "Run as administrator".
4. Get to the directory you extracted Spelunktool to. To do this: cd <game path>, where <game
path> is where
you extracted Spelunktool.
For example: cd C:\Program Files
(x86)\Steam\SteamApps\common\Spelunky\Data.
5. Open up Windows Explorer, and browse into the Textures directory, highlight alltex.wad and
alltex.wad.wix,
then hit ctrl + c
to copy them.
6. Go back up a level to the Data directory and paste them there.
7. Go back to your cmd window, and type the following: spelunktool -x alltex.wad
8. Let the tool finish, and you should see a new "alltex" directory in Windows explorer. This is where
the
image files go.
9. Head on into the alltex directory with Windows explorer, then into the ATSTART directory within
there.
Copy hudelements.png into there overwriting the existing file.
10. Go back up a level, and then into the HELPNOOPTIONS directory. Copy controller.png into here.
11. Go back to your cmd window, then type the following command: spelunktool -c alltex
12. Wait for the tool to say something along the following lines so you know it's done:
alltex.wad created with 194 files.
33 duplicates.
13. Go back into your Textures directory, and make a backup of alltex.wad and alltex.wad.wix just in case
you
want to go back to the
original Spelunky later.
14. Once you've made your backup, copy the alltex.wad and alltex.wad.wix files from the Data directory
into
the Textures directory.